
New (and even experienced) knitters can sometimes wrap the yarn backwards, which results in twisted stitches. The video below shows how to wrap the yarn the correct way around your needle when knitting or purling. Spoiler: always wrap counter-clockwise. You may also want to check out these tips for yarn and stitch orientation.
How to Do the Continental Cast On

Casting on is how you get the yarn into loops and onto the needles at the beginning of a project so you can start to knit. There are many different methods of casting on. Perhaps the easiest for new knitters is the Continental Cast On, which is very similar to simply knitting. Check out the following video to learn how to do the Continental Cast On step-by-step. Each step is repeated several times slowly so you can knit along.
How to Make a Knit Stitch

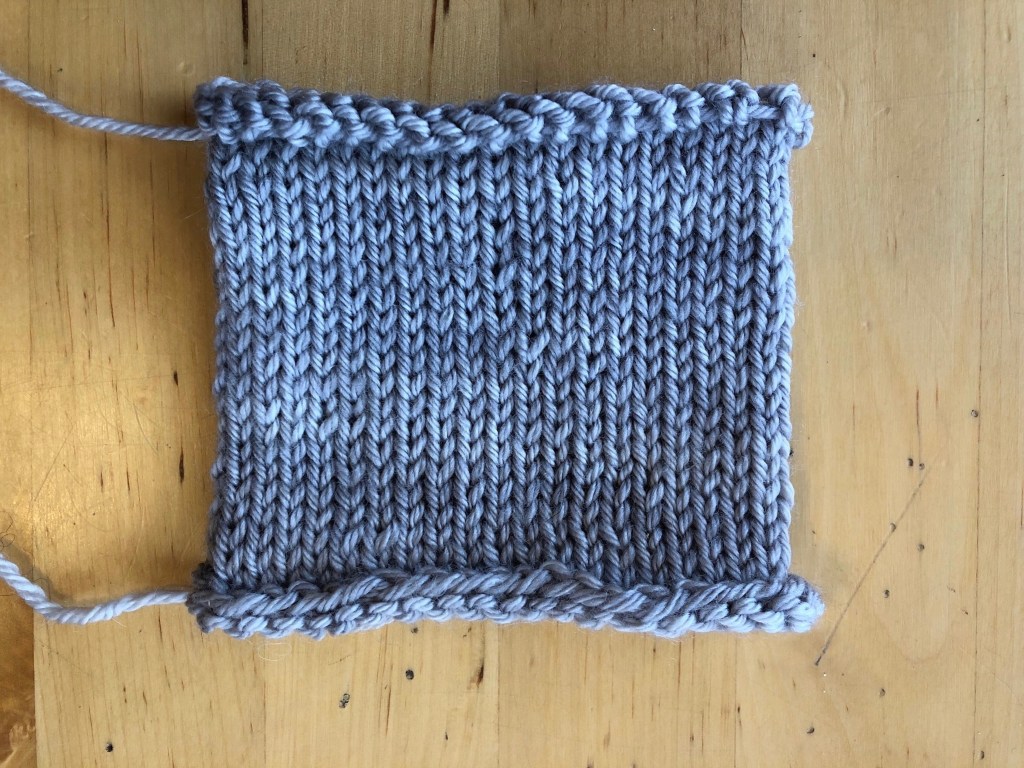
There are two main stitches in knitting: the knit stitch and the purl stitch. When looking at fabric knit in stockinette, the side with the “v” shaped columns is the side that was knit; the purl side is the one with the “bumps,” which are sometimes described as “smiles and frowns.” Note that the back side of the knit stitch creates the smiles and frowns of the purl stitch.
Here is how to make a knit stitch; there are photos and a video tutorial below. The method used is Continental knitting, which means the yarn is held in the left hand. Continental knitting is often easier for beginning knitters to learn, and many believe it’s faster to knit than the English method (which holds the yarn in the right hand.)
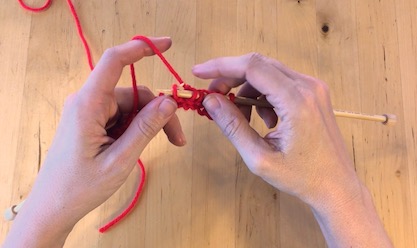
- The yarn goes behind your work (like the way it’s shown Figure 1 below.)
- Insert the right needle into the first stitch on the left hand needle. The right needle goes BEHIND the left needle, as shown in Figure 1.
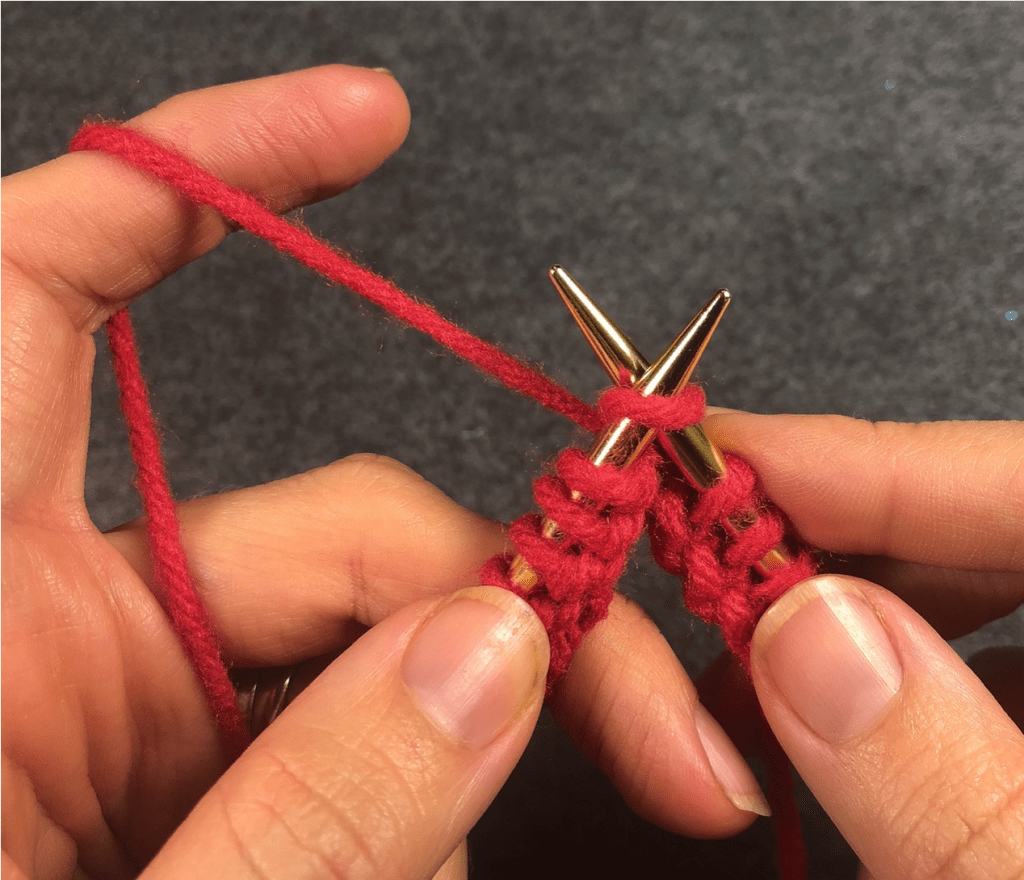
- Wrap the yarn counter-clockwise around the right needle, as shown in Figure 2 below.
- Pull the wrapped yarn through the loop on the left needle, then move your right hand needle to the right to slide the stitch off the left hand needle. That’s one knit stitch.

The first video below shows you how to make a knit stitch step-by-step. The instructions are repeated several times so you can knit along. The second video shares some common issues beginning knitters can have with the knit stitch and how to avoid them.
How to Knit Garter Stitch
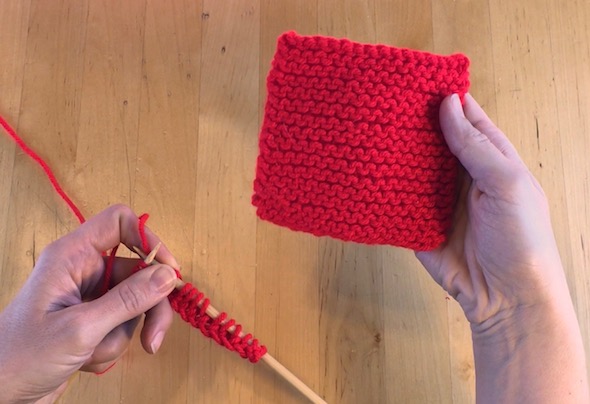
To knit in garter stitch simply means you knit every row when making a flat piece of fabric. (When knitting in the round, you would need to alternate between knit rows and purl rows in order to create garter stitch fabric.) This creates a kind of ripply fabric that’s the same on both sides. The following video demonstrates how to knit a flat piece in garter stitch:
Where to Hold the Yarn After Turning Your Work

New knitters sometimes have a hard time understanding where the yarn should be positioned after turning the work, particularly after completing a knit row. If you don’t do this correctly, you can end up accidentally adding a stitch. The following video shows where to hold the yarn after turning your work to be positioned correctly to begin knitting either knit or purl stitches. You might also want to check out these yarn and stitch orientation tips, one of which explains how to make sure you pick up your project and resume knitting the correct direction after stopping in the middle of a row.
How to Bind Off
Binding off is what you do to take your project of the needles when you’ve finished knitting the pattern. There are several different ways to bind off your work. With the simple or traditional bind off, you knit two stitches and then pass the first stitch over the second and off the needle. Here are the instructions in more detail, and the video below gives step-by-step instructions:
- On the right side of the final row, knit the first stitch.
- *Knit one more stitch. Now there are two stitches on the right hand needle.
- *Insert your left needle into the second stitch on the right needle (the stitch on the right, farthest from the tip); the left needle will be in front of the right needle.
- *Use the left needle to pull the stitch on the right side of the right needle over the stitch on the left side of the right needle (see Figure 1) and pull the passed-over stitch completely off the right hand needle. Now there is one stitch on the right hand needle.
- Be sure to keep the yarn a little loose or the last row will be a lot tighter than the rest of the project. Sometimes I bind off with a needle one size bigger in my right hand.
- Repeat the three steps above that start with an * until there are no more stitches on the left needle (one stitch will remain on the right needle).
- Cut your yarn 6 inches from the needle, and pull the tail through the last stitch on the right needle. Use a yarn needle to weave in the ends.

This video provides step-by-step instructions of the simple bind off method:
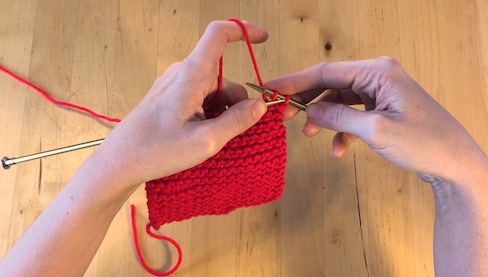
How to Weave in the Ends

To weave (or sew) in the ends is usually the last step of a project. At the very least, one usually needs to weave in the tail end of the yarn from where the first slip knot was made to start the project, and the very last tail end of yarn that remains after binding off. If you used more than one skein and/or more than one color of yarn during the project, there may be more ends that need to be woven into the work.
The following video shows one method for weaving in the ends to a knitted project, which works for either stockinette or garter stitch:
How to Slip Stitches
Knitting patterns often direct the knitter to “slip a stitch,” perhaps with additional instructions such as to “slip knitwise.” In short, to slip a stitch is to move a stitch from one needle to the other without getting new yarn and making a new stitch. In the following video, we’ll learn about slipping stitches.
How to Make a Purl Stitch

There are two main stitches in knitting: the knit stitch and the purl stitch. When looking at fabric knit in stockinette, the purl side is the one with the “bumps,” which are sometimes described as “smiles and frowns.” The side with the “v” shaped columns is the side that was knit. Note that the back side of the purl stitch creates a knit “v”.

Here is how to make a purl stitch; there are photos and a video tutorial below. The method used is Continental knitting, which means the yarn is held in the left hand. Continental knitting is often easier for beginning knitters to learn, and many believe it’s faster to knit than the English method (which holds the yarn in the right hand.)
- The yarn goes in front of your work – move it under the needle to bring it to the front. (Note you’ll have to change how you hold the yarn – I just sort of pinch it gently between my thumb and index finger of my left hand as shown in Figure 1 below.)
- With the tips of the needles pointing toward each other, insert the right hand needle into the first stitch on the left hand needle. The right needle goes IN FRONT OF the left needle as..
- Wrap the yarn counter-clockwise around the right needle, as shown in Figure 2 below.
- Pull the wrapped yarn through the loop on the left needle, then move your right hand needle to the right to slide the stitch off the left hand needle. That’s one purl stitch.


The following video shows you how to make a purl stitch step-by-step. The instructions are repeated several times so you can knit along.
Coco Knits Sweater Pattern

I made this Coco Knits Sweater from her Sweater Workshop as a class offered by my local yarn store, Yarnatopia. It was a little more complicated than I might have wanted to tackle on my own the first time, but was great to do as part of a class. The book, worksheet, and colored stitch markers are used in concert with each other to create sweaters that fit beautifully, particularly around the shoulder. The option I chose was the same one shown on the cover – the Emma Pattern B. Knit with a wonderfully soft, chunky Juniper Moon yarn, it came together very quickly.

