
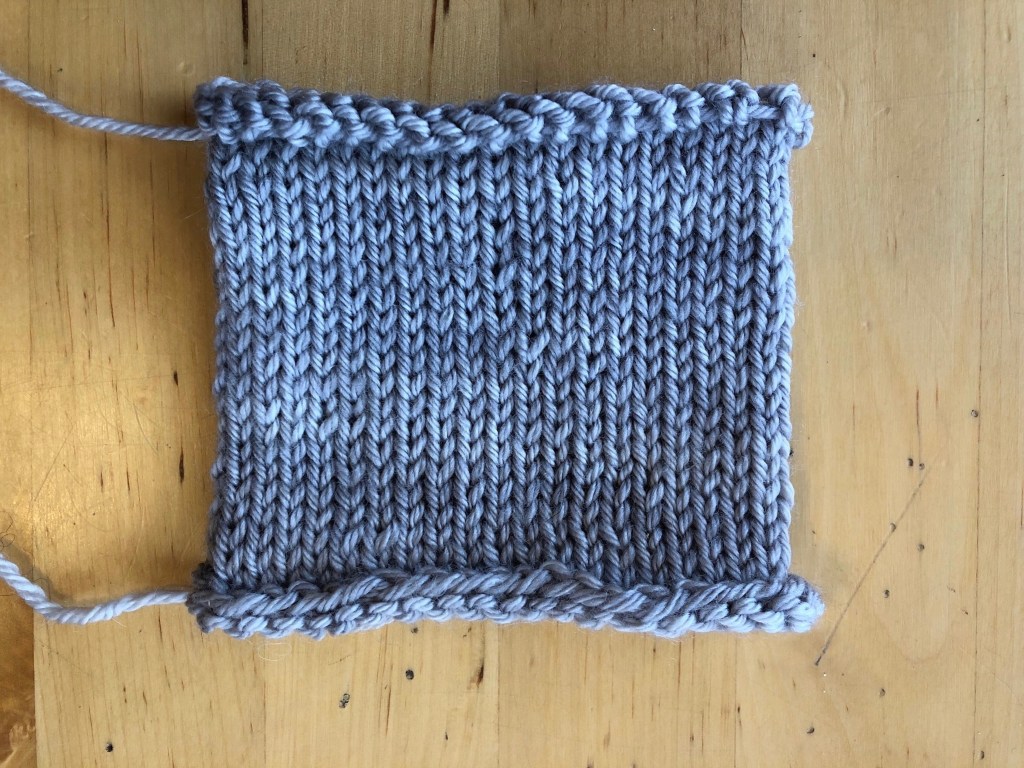
There are two main stitches in knitting: the knit stitch and the purl stitch. When looking at fabric knit in stockinette, the side with the “v” shaped columns is the side that was knit; the purl side is the one with the “bumps,” which are sometimes described as “smiles and frowns.” Note that the back side of the knit stitch creates the smiles and frowns of the purl stitch.
Here is how to make a knit stitch; there are photos and a video tutorial below. The method used is Continental knitting, which means the yarn is held in the left hand. Continental knitting is often easier for beginning knitters to learn, and many believe it’s faster to knit than the English method (which holds the yarn in the right hand.)
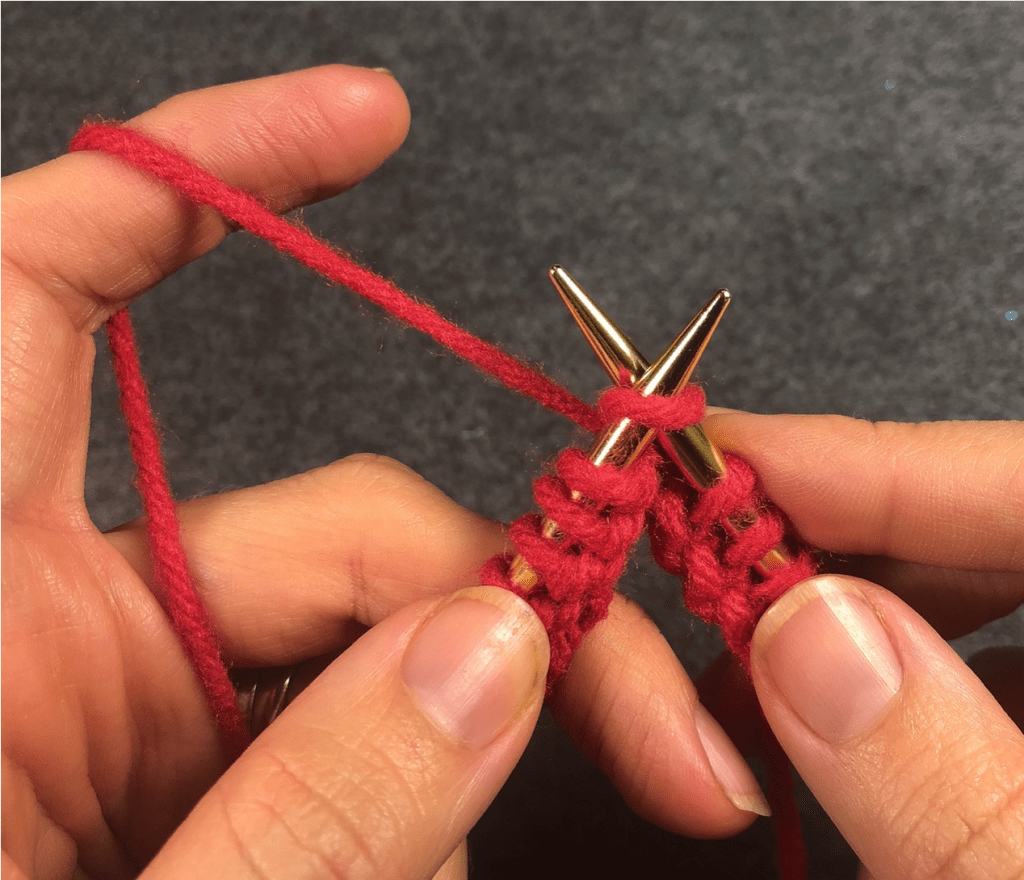
- The yarn goes behind your work (like the way it’s shown Figure 1 below.)
- Insert the right needle into the first stitch on the left hand needle. The right needle goes BEHIND the left needle, as shown in Figure 1.
- Wrap the yarn counter-clockwise around the right needle, as shown in Figure 2 below.
- Pull the wrapped yarn through the loop on the left needle, then move your right hand needle to the right to slide the stitch off the left hand needle. That’s one knit stitch.

The first video below shows you how to make a knit stitch step-by-step. The instructions are repeated several times so you can knit along. The second video shares some common issues beginning knitters can have with the knit stitch and how to avoid them.
