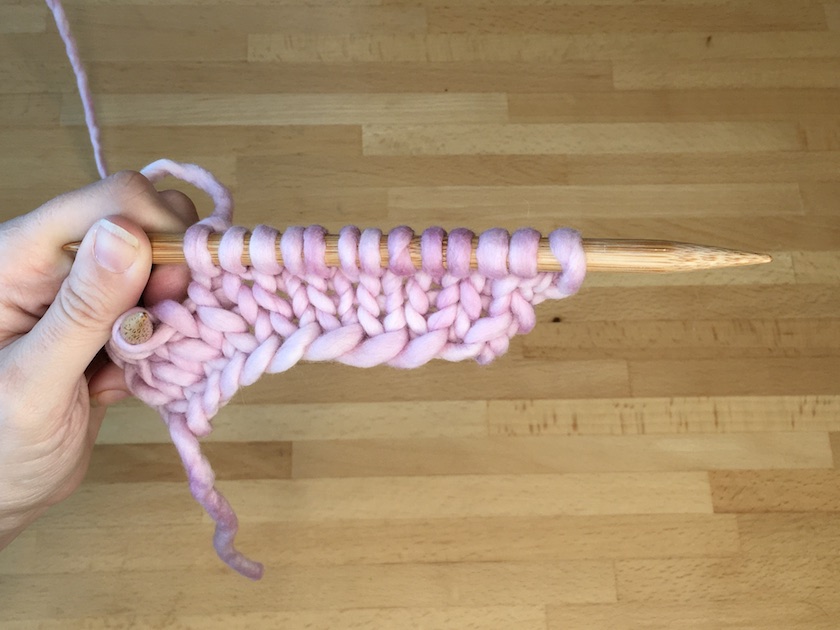
Make 1 Left (M1L) and Make 1 Right (M1R) are common increase stitches. M1L leans to the left and M1R leans to the right; you can see how the left side of the swatch above (where I did several M1Ls) leans to the left, and the right side (where I did several M1Rs) leans to the right. If a pattern just includes an M1 (without indicating Left or Right), you can choose which to do; you might want to think about the direction you want the stitch to lean. If your’e doing several increases and they don’t need to go a specific direction, such as on a hat where you increase every 10 stitches all the way around, you might want to choose one and do it consistently. Here’s how to do M1L and M1R:
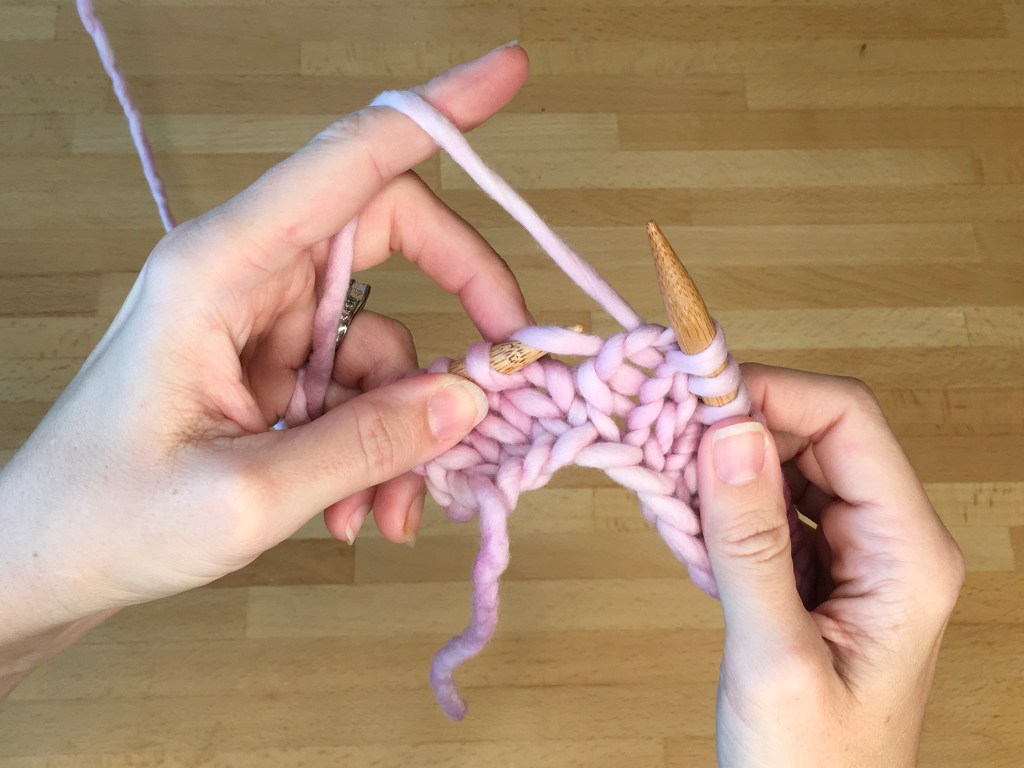
Pick up the Bar Between the Stitches with the Left Needle
For both M1L and M1R, use your left needle to pick up the bar between the stitches where you want to make the increase. The arrow below is pointing toward the bar.

Make 1 Left
For M1L, use the left needle to pick up the bar from the front, then knit through the back loop.
Make 1 Right
For M1R, use the left needle to pick up the bar from the back, then knit through the front loop.

Video Tutorial
The following video tutorial demonstrates how to knit the M1L and M1R increases.
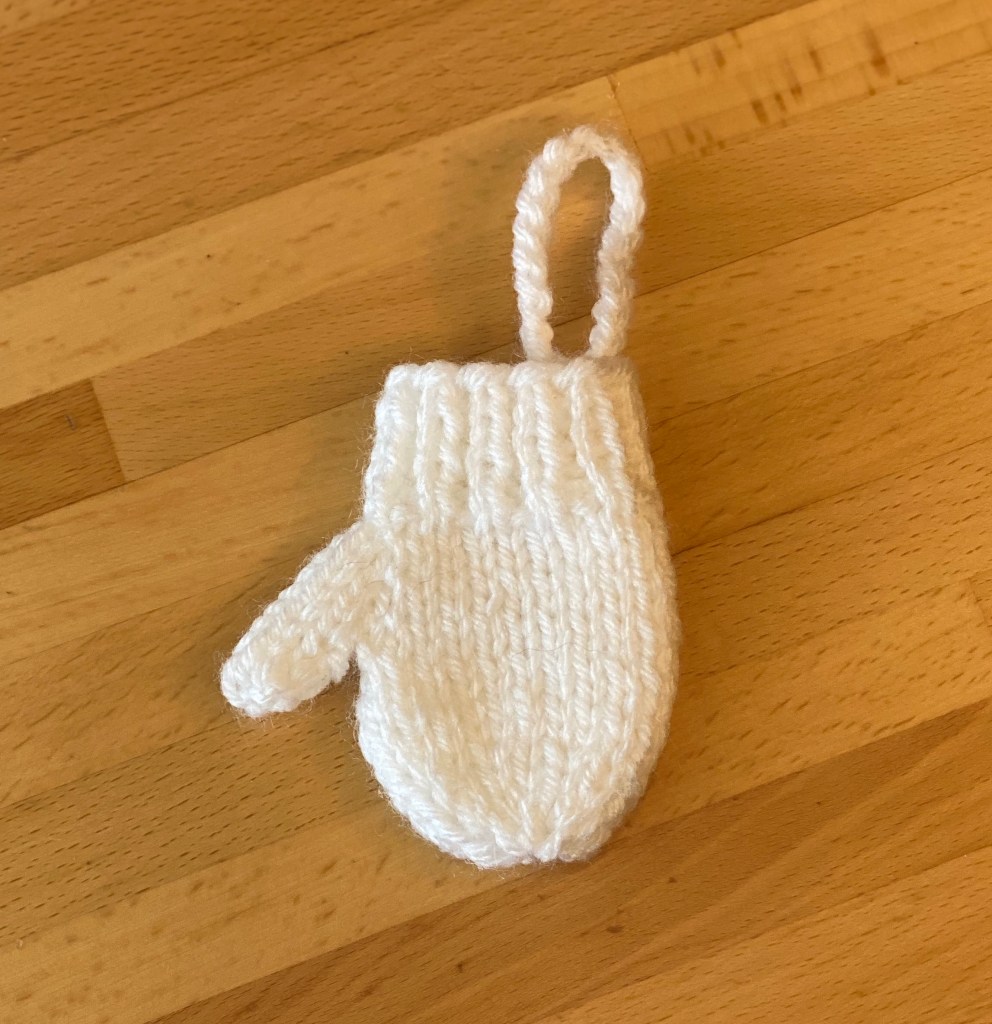
Want to Give it a Try?
This cute mitten ornament is a great way to practice the M1L and M1R increases.